How to Prepare Your Doors and the Garage for a New Coat of Paint
Posted by Brant Heritage Painting, Thursday, July 25th, 2024 | 681 views
Prepare Right, So You Paint it Right the First Time
In our last article, we covered How to Prepare Your Window Sills and Shutters Before Painting Them, but this guide will walk you through the steps to prepare your doors, garage, and even their window elements for painting to help you get the best results possible.
Giving your doors and garage a fresh coat of paint will most likely improve your home’s curb appeal – especially if it’s an older home – and protect their surfaces from wear and tear. To do so, proper preparation is needed to achieve a professional-looking finish that should last for years to come.
Before Beginning the Project
Before you begin the project, gather all the necessary supplies, including
- paint and paint can opening tool
- a paint mixer
- paint brushes/rollers
- sandpaper
- latex gloves
- cleaning solutions
- painter’s tape
- drop cloths
- primer
Preparing Interior and Exterior Doors
 When it comes to painting your front door, proper preparation is important if you wish to achieve a smooth and long-lasting finish.
Simply start by removing all hardware, including the doorknobs, hinges, and locks.
This will make the painting process much easier and prevent any accidental paint splatters on these fixtures.
You can. also opt in for taping around the hardware, but when it comes to a lot of DIY projects, people have a hard time ensuring the paint doesn’t seep through. That’s why we suggest removing them altogether which should make the project easier
Next you’ll want to thoroughly clean the door using a mild detergent and warm water solution. This will ensure no dirt and grime get caught up in the paint job and look amateur.
After cleaning, simply rinse the door with clean water and allow it to dry completely.
Sanding and Priming
Once the door is clean and dry, lightly sand the entire surface using fine-grit sandpaper. This step helps to create a smooth surface for the paint to adhere to and removes any remaining dirt, debris or small bubbles left from the previous paint job.
After sanding, just wipe down the door with a damp cloth to remove any remaining dust particles.
Once that is done, you can start applying a coat of primer to the door – especially if you’re making a significant color change or painting bare wood. Adding primer also helps make the paint adhere better and makes the paint look smooth and uniform without any odd looking patches.
Allow the primer to dry completely before moving on to the painting tasks.
Addressing Door Frames
Prepare the door frames in the same manner. Clean them thoroughly, sand any rough spots, and apply the primer. Use painter’s tape to protect any areas you don’t want to be painted like the weatherstripping or connecting walls.
When this is done, your doors will be well-prepared for their new coat of paint, and if you did everything right, the result will be a professional-looking finish.
Preparing Your Garage Door
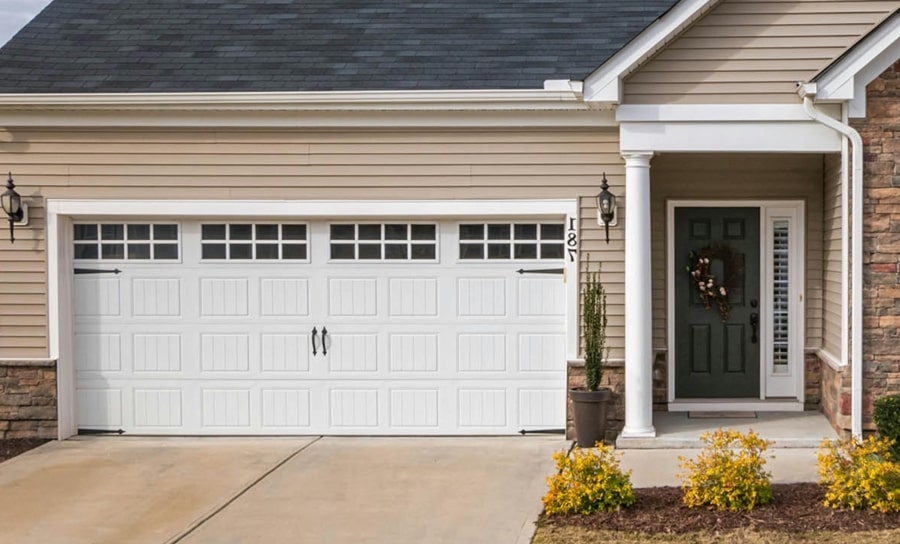 Now it’s time to prepare the garage doors. Garage doors represent a significant portion of your home’s exterior, so making sure they look good is particularly important.
Simply begin by thoroughly washing the garage door with a pressure washer (on a more lighter pressure setting) or a hose with a spray nozzle attachment. Consider using a degreaser if you find there’s any signs of oil or grease stains present.
After cleaning, give your garage doors a little inspection for any signs of damage – such as rust spots or dents – and repair them if possible. If the damage is not too extensive, just sand down any rusty areas and apply a rust-inhibiting primer to these spots. You can find really good rust inhibitors at Home Depot or Rona.
For wooden garage doors, fill any cracks or holes with wood filler and sand them smooth once they are dry. You can use sandpaper or an electric sander to make the job easier.
Dealing with Different Materials
Note that different garage door materials require specific preparation techniques:
- Metal doors: gently use a wire brush to remove any loose paint or rust before sanding.
- Wooden doors: sand the entire surface to create a smooth base for the primer and new paint.
- Vinyl doors: clean them thoroughly and use a vinyl-specific primer for better paint adhesion.
Protecting Hardware and Windows
Before painting, you’ll want to protect any hardware and windows your doors may have. Simply cover any exposed hardware or windows on the garage door with painter’s tape and plastic sheeting. This will protect these areas from paint overspray and make clean-up much easier.
Remember to choose a paint that’s suitable for exterior use and can withstand the elements.
Get Started on Your Painting Project
Now that you’ve learned how to prepare your front doors and garage for painting, it’s time to put this knowledge to use.
Start by assessing the areas of your home that need attention and start purchasing the list of the supplies you’ll need.
Before you begin, check the weather forecast to plan your painting on dry, mild days. Doing this will help ensure optimal drying conditions. So grab your supplies, follow the steps outlined in this guide, and get ready to give your home a beautiful new look!